
 Having built a large 5 lane track (see here), we used our experience to design this more lightweight and portable 3 lane track, and thought we would share the plans. For those looking to build, or borrow a cheap track for Pinewood Derby in the UK.
Features:
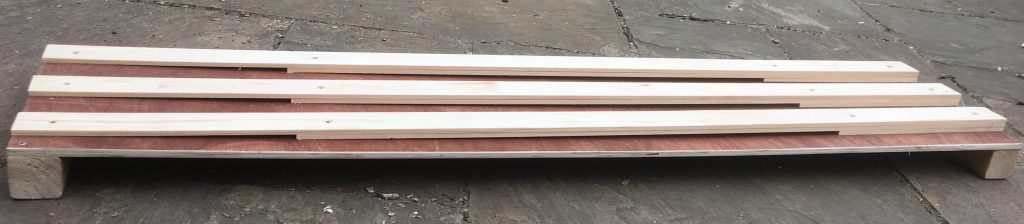
- It is portable! The track sections are light and short enough (approximately 4 feet in length) to fit into the back seat of a car. This makes it easy to store when you’re not racing!
- It requires minimal power tools to build it! You can make this track with just a drill, circular saw and a mitre saw (ie you don’t need a table saw) – at a push you could do it with just a hand saw!
- You don’t need to use glue or fancy woodworking techniques (although you could if you like that sort of thing!)
Materials:
- 6mm Plywood sheet – for the racing surface
- 44mm x 6mm stripwood – for the lane guides *this is the easiest way I have found (I bought mine from Wickes)*
- 2×2 timber – blocks for each end of the track sections
- Screws
- Coach bolts, washers and wing nuts – to fit the sections together
Equipment:
- Circular saw
- Mitre saw
- Drill
- Drill bits (to make pilot holes for the screws and holes for coach bolts)
- Screwdriver bit to fit screws (eg PZ2)
- Countersink bit
- Clamps
- Sandpaper / Random Orbital Sander
Instructions: (*you will need to do your own risk assessment and take appropriate precautions*)
- Cut the plywood into sections with the circular saw
- Cut the 2×2 timber lengths to match the width of the sections of plywood
- Drill holes in the timber batons for the coach bolts to fit through
- Cut the stripwood to length and countersink and pilot hole at either end (above where the timber baton sits)
- Mark on the plywood where the lanes will be positioned
- Position the 2×2 timber blocks under the plywood, and stripwood lane guides on top, and screw these together at either end
- Once construction is finished, you may wish to smooth the edges with sandpaper to remove splinters, etc.
Assembly:
- Position the track sections end to end and put them on their side.
- Bolt the sections together with the cup bolts, washers and wing nuts, ensuring that the lane guides and track section are in alignment. *this is a key step*
- With assistance, place the track down flat.
- Making sure that appropriate safety precautions have been taken, you may choose to lift the start section of the track to provide a slope for gravity racing.
- We have found that a stepladder works well to prop the track up onto – but make sure it is secured, that nobody can go under the track, and that it is weighted so as not to topple over. It is also advisable to place the track back on the floor when racing has finished or there is a break in proceedings.
- It’s handy to have a hammer when taking the sections apart in case any of the bolts are stuck in. We keep the bolts, washers and nuts in takeaway tubs for next time.

Special sections:
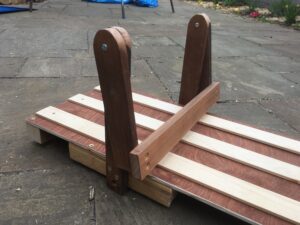
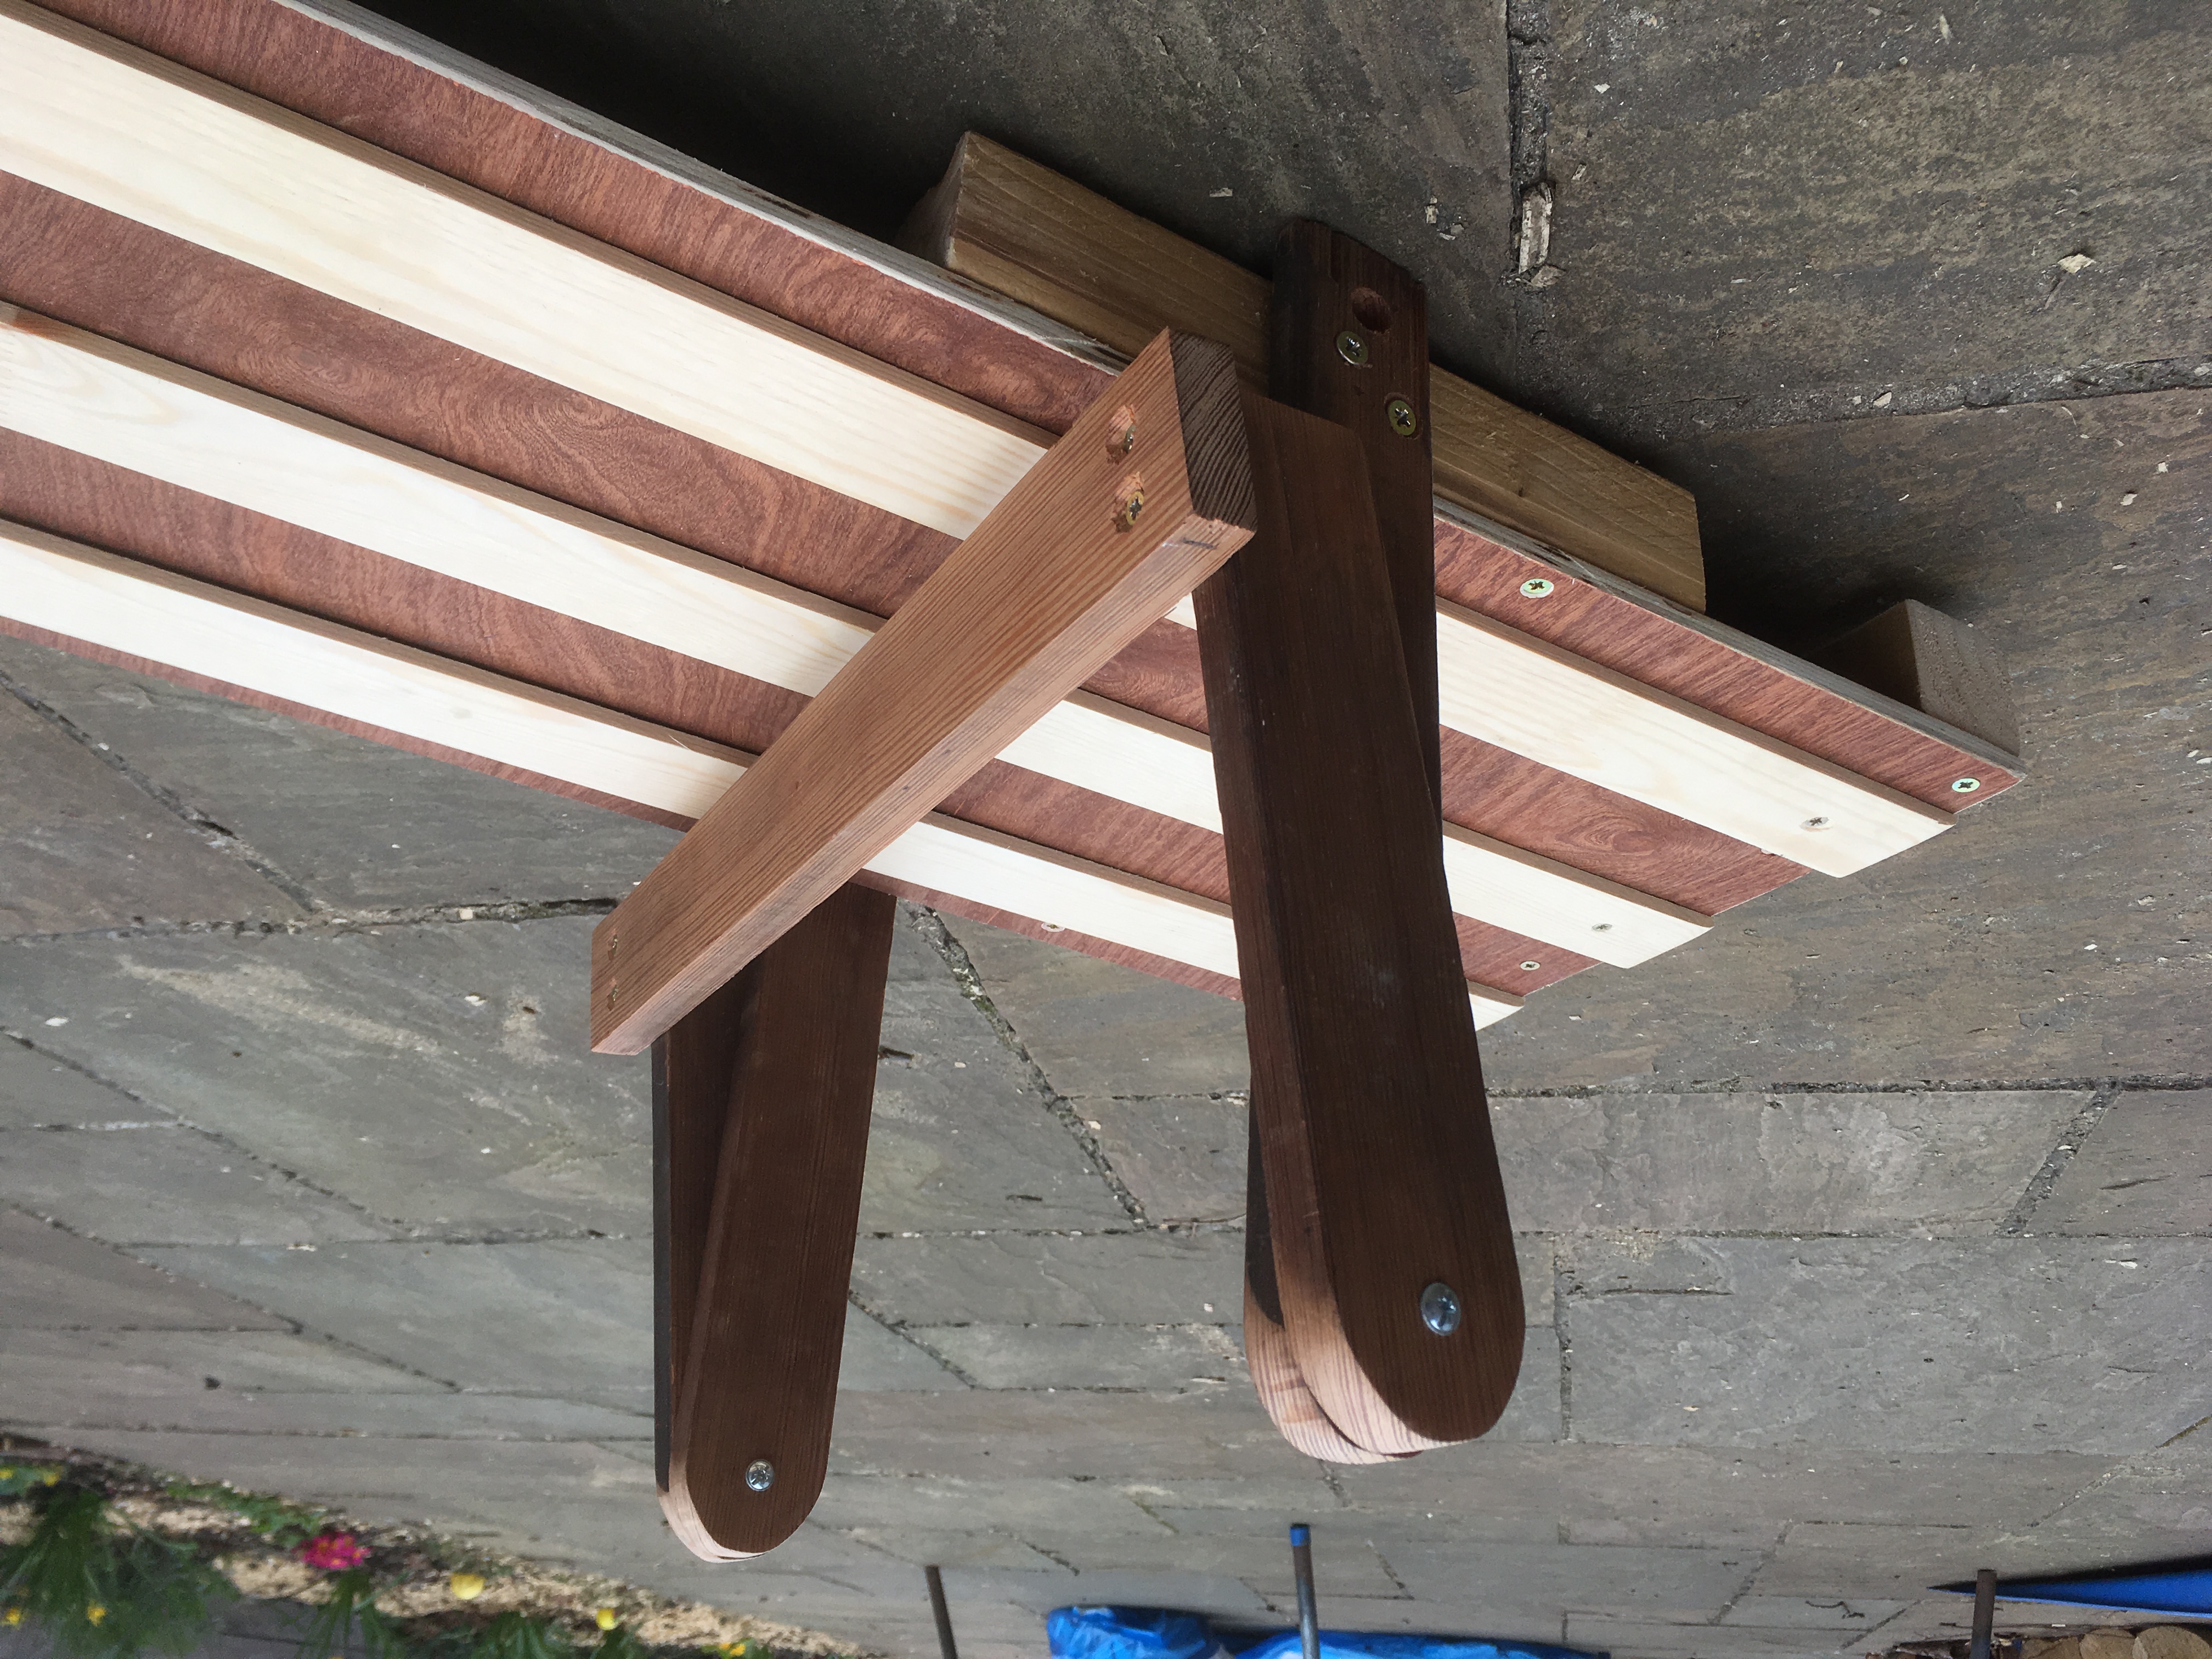
- We have fitted a starting gate on the top section, leaving enough space at the end for the cars to be positioned ready for racing. You will notice that this is an alternative and simpler external design to the standard starting gates which you find on a Pinewood Derby track which often use an internal drop out post design.
- We have designed a ramped track section to act as a friction brake for the final section, with the lane guides increasing in height to lift the wheels off the running surface as the underside of the car drags on the lane guide

If you have any questions about track design or building your own, or if you would like us to purchase a track from us, please get in touch!