Pinewood Derby Track Design

pinewood derby track sectionHaving built a large 5 lane track (see here), we used our experience to design this more lightweight and portable 3 lane track, and thought we would share the plans. For those looking to build, or borrow a cheap track for Pinewood Derby in the UK.

Features:

  • It is portable! The track sections are light and short enough (approximately 4 feet in length) to fit into the back seat of a car. This makes it easy to store when you’re not racing!
  • It requires minimal power tools to build it! You can make this track with just a drill, circular saw and a mitre saw (ie you don’t need a table saw) – at a push you could do it with just a hand saw!
  • You don’t need to use glue or fancy woodworking techniques (although you could if you like that sort of thing!)

Materials:

  • 6mm Plywood sheet – for the racing surface
  • 44mm x 6mm stripwood – for the lane guides *this is the easiest way I have found (I bought mine from Wickes)*
  • 2×2 timber – blocks for each end of the track sections
  • Screws
  • Coach bolts, washers and wing nuts – to fit the sections together

Equipment:

  • Circular saw
  • Mitre saw
  • Drill
  • Drill bits (to make pilot holes for the screws and holes for coach bolts)
  • Screwdriver bit to fit screws (eg PZ2)
  • Countersink bit
  • Clamps
  • Sandpaper / Random Orbital Sander

Instructions: (*you will need to do your own risk assessment and take appropriate precautions*)

  • Cut the plywood into sections with the circular saw
  • Cut the 2×2 timber lengths to match the width of the sections of plywood
  • Drill holes in the timber batons for the coach bolts to fit through
  • Cut the stripwood to length and countersink and pilot hole at either end (above where the timber baton sits)
  • Mark on the plywood where the lanes will be positioned
  • Position the 2×2 timber blocks under the plywood, and stripwood lane guides on top, and screw these together at either end
  • Once construction is finished, you may wish to smooth the edges with sandpaper to remove splinters, etc.

Assembly:

  • Position the track sections end to end and put them on their side.
  • Bolt the sections together with the cup bolts, washers and wing nuts, ensuring that the lane guides and track section are in alignment. *this is a key step*
  • With assistance, place the track down flat.
  • Making sure that appropriate safety precautions have been taken, you may choose to lift the start section of the track to provide a slope for gravity racing.
  • We have found that a stepladder works well to prop the track up onto – but make sure it is secured, that nobody can go under the track, and that it is weighted so as not to topple over. It is also advisable to place the track back on the floor when racing has finished or there is a break in proceedings.
  • It’s handy to have a hammer when taking the sections apart in case any of the bolts are stuck in. We keep the bolts, washers and nuts in takeaway tubs for next time.

Pinewood Derby track section detail

Special sections:

  • We have fitted a starting gate on the top section, leaving enough space at the end for the cars to be positioned ready for racing. You will notice that this is an alternative and simpler external design to the standard starting gates which you find on a Pinewood Derby track which often use an internal drop out post design.
  • Pinewood Derby track starting gate
  • We have designed a ramped track section to act as a friction brake for the final section, with the lane guides increasing in height to lift the wheels off the running surface as the underside of the car drags on the lane guide

If you have any questions about track design or building your own, or if you would like us to purchase a track from us, please get in touch!

Kids Birthday Party!

A Pinewood Derby Birthday Party – for this cars themed birthday activity these pre-shaped wedge kits were decorated by 3 and 4 year old kids! They were provided with a table to choose from a while variety of foam stickers, felt tipped pens and sharpie markers!

With the help of adults they had wheels added to their blocks, and then they got to race them along a track with their friends 🙂

Best of all, they got to take their car home as a memento, along with a piece of cake, a helium balloon and their party bag!

Primary School Welcome

cramondp1pwd2016a

Pupils starting school this year with Primary 1 classes at Cramond Primary School in Edinburgh were invited to participate in a Pinewood Derby! A great opportunity for the young people to show off their creativity and craft skills, building their own car to race with their new friends 🙂

For adults coming along to support their child there was also the chance to meet other parents, some new to the school and others with experience of having older children at the school. Perhaps also comparing notes with other dads, grandparents and siblings who might have been involved in building the cars for the race!

There was a wide range of car designs, with Batman, The Flying Scotsman and “Cars” film characters being represented, as well as Thunderbird 2. Trophies were awarded to the top 3 racers that made it into the final, and there were 2 design awards up for grabs. For almost all of the participants this was the first time they had ever seen a Pinewood Derby, let alone taken part. This was the third Pinewood Derby fundraising / social event organised and run by the Cramond Parents & Staff Council, and we’re looking forward to the next one already!

cramondp1pwd2016b

Finish Line Electronics

electronics

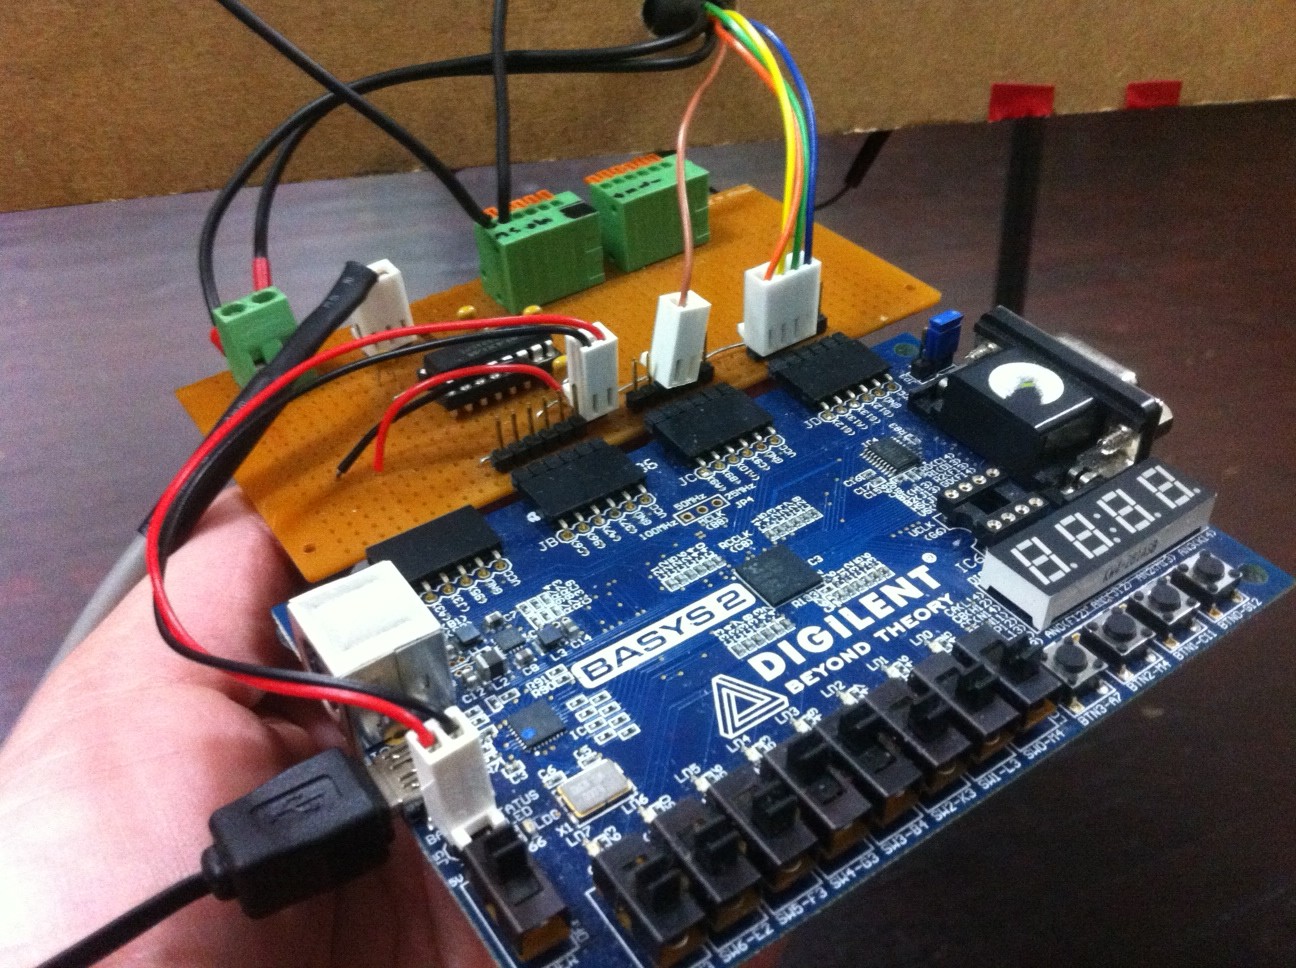
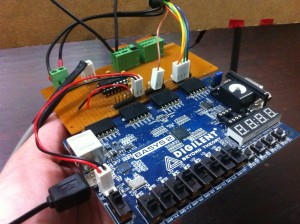
If the above picture looks intimidating and scary, then ‘join the club’ – but using electronics to monitor the finishing of cars in a Pinewood Derby – now that’s exciting! At times this can also be necessary if there is just 0.01 seconds between cars finishing, which can be tricky to judge by eye.

If the above picture looks interesting, and you have a curiosity for things involving wires, volts and sensors, then read on…

What I really love about Scouting, in my experience, is that you get to meet a wide range of people from different backgrounds, especially in volunteering roles. People investing their time and energy for a whole host of reasons, in such a variety of different ways. So, after floating the idea of running a Pinewood Derby within my Scout Group, it wasn’t too long before I managed to get introduced to a few professional Electrical Engineers who I had found amongst the leadership team within our District who were able to lend a hand!

Essentially, to start with, a Pinewood Derby electronic finish line you have a starting gate microswitch, which tells your processor that the race has started, and an array of sensors positioned under the track at the finish line which “see” the cars as they pass. From this information the processor can tell you the order in which the cars crossed the finish line, and how long it took each of them to finish the race.  The sensors that are used might work by detecting a reflection of infrared light (for example) from a source (LED) that bounces off the bottom of the car to the sensor, as it passes. Alternatively, you could use photoresistor type sensors, which can detect a beam being broken, otherwise known as a shadow(!), when it comes to visible light, for example.

There is a lot more detail that can be found on this subject on the internet, but I have enjoyed starting to look into what might be possible with an Arduino and Raspberry Pi!
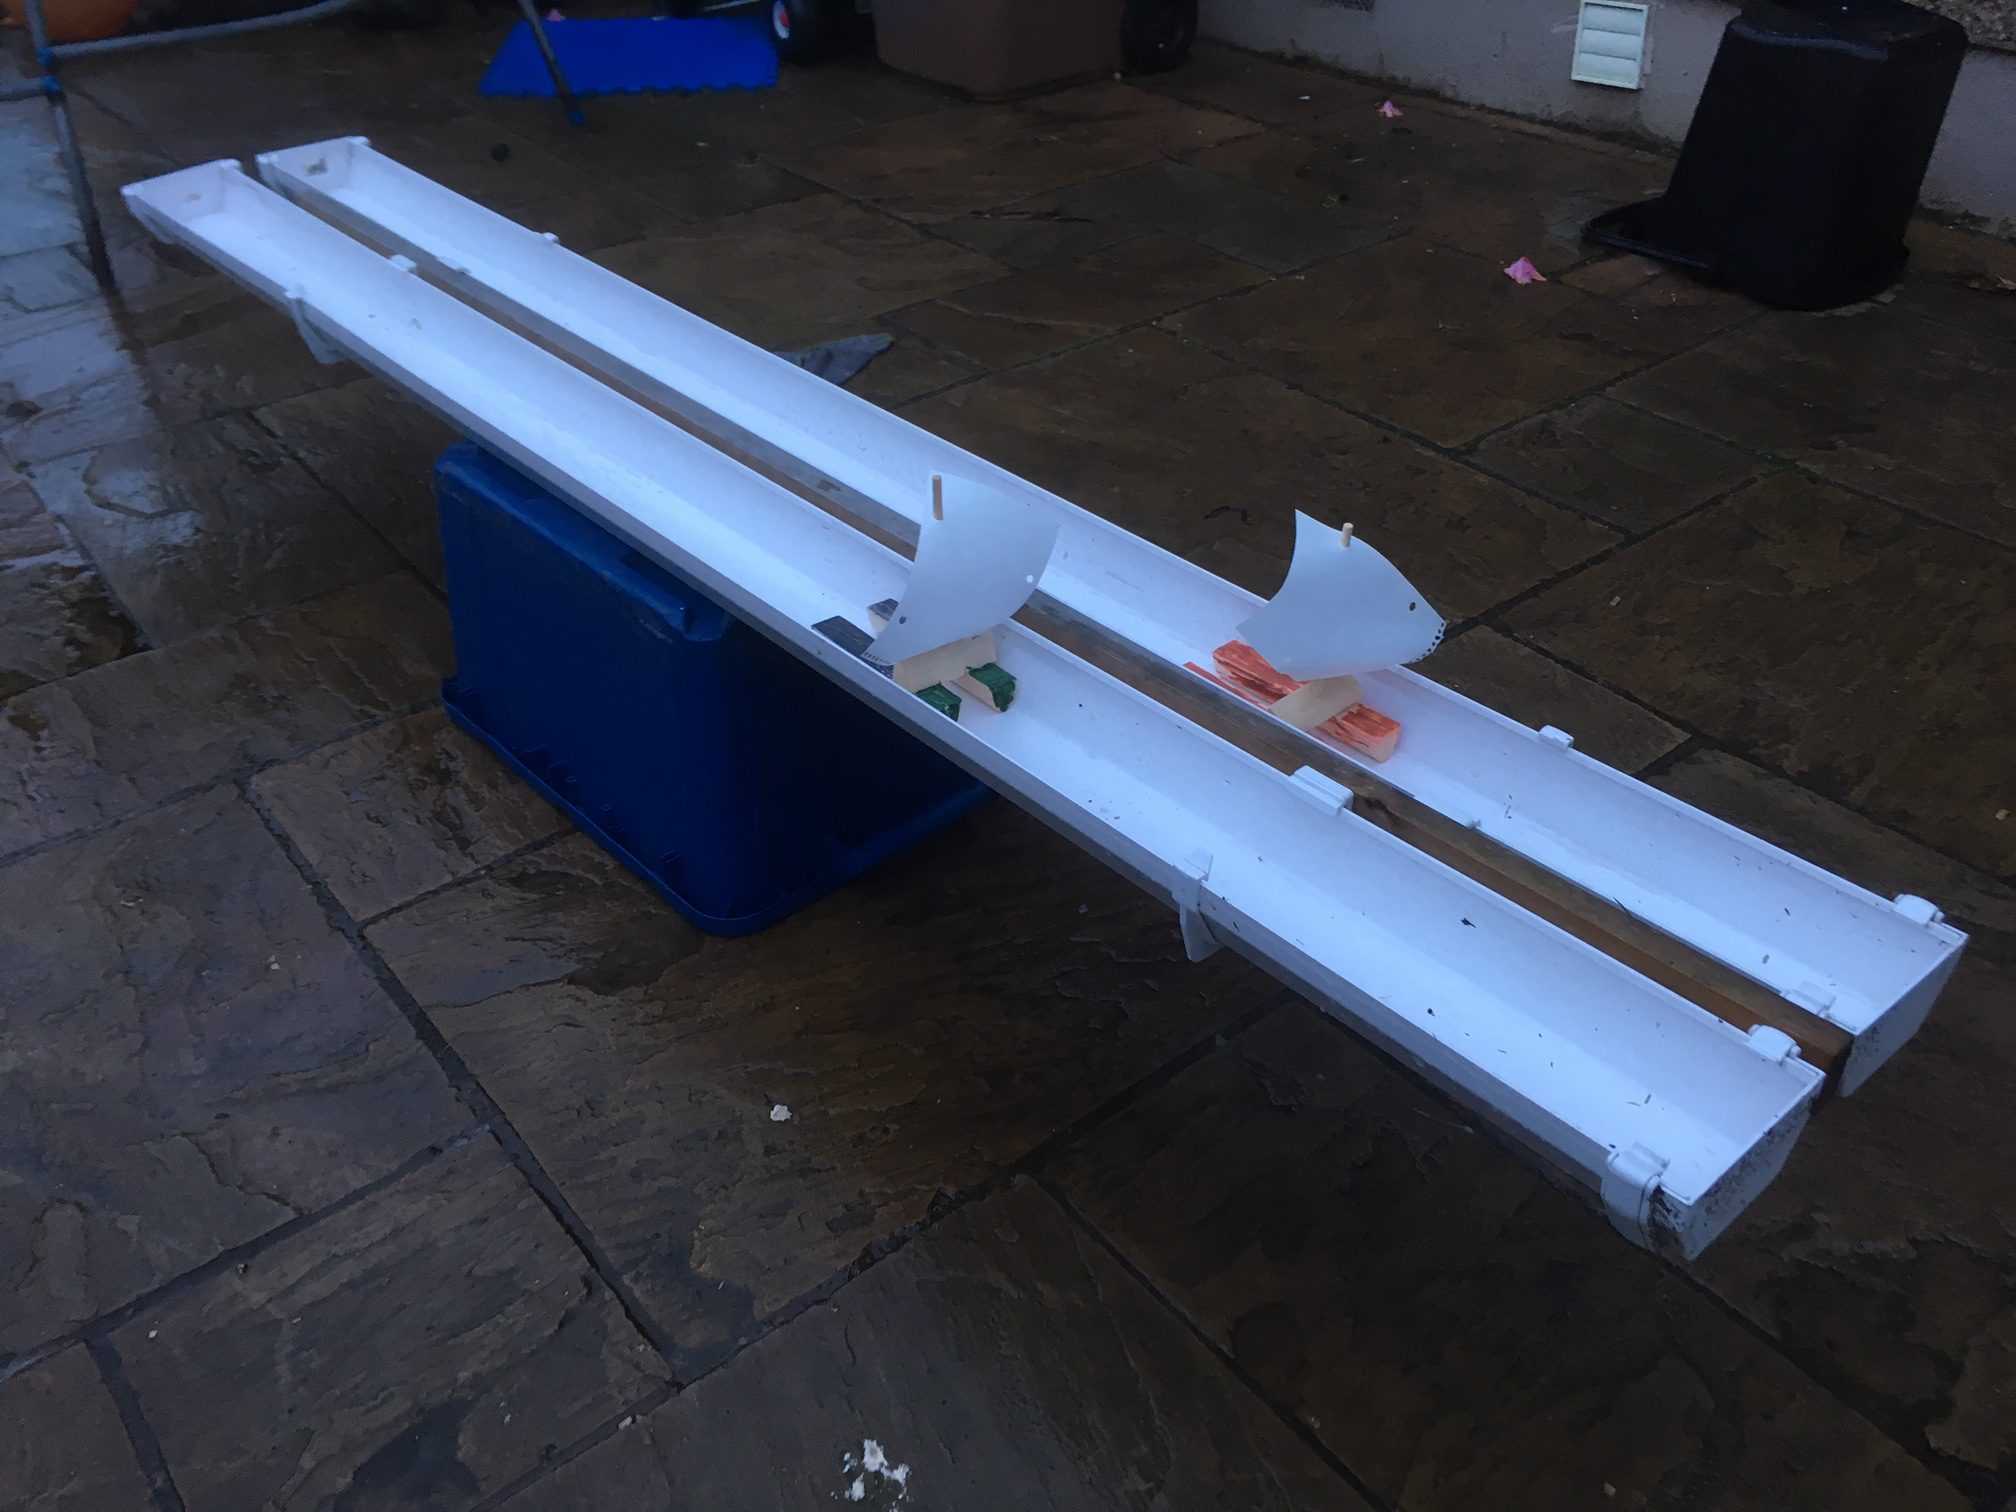
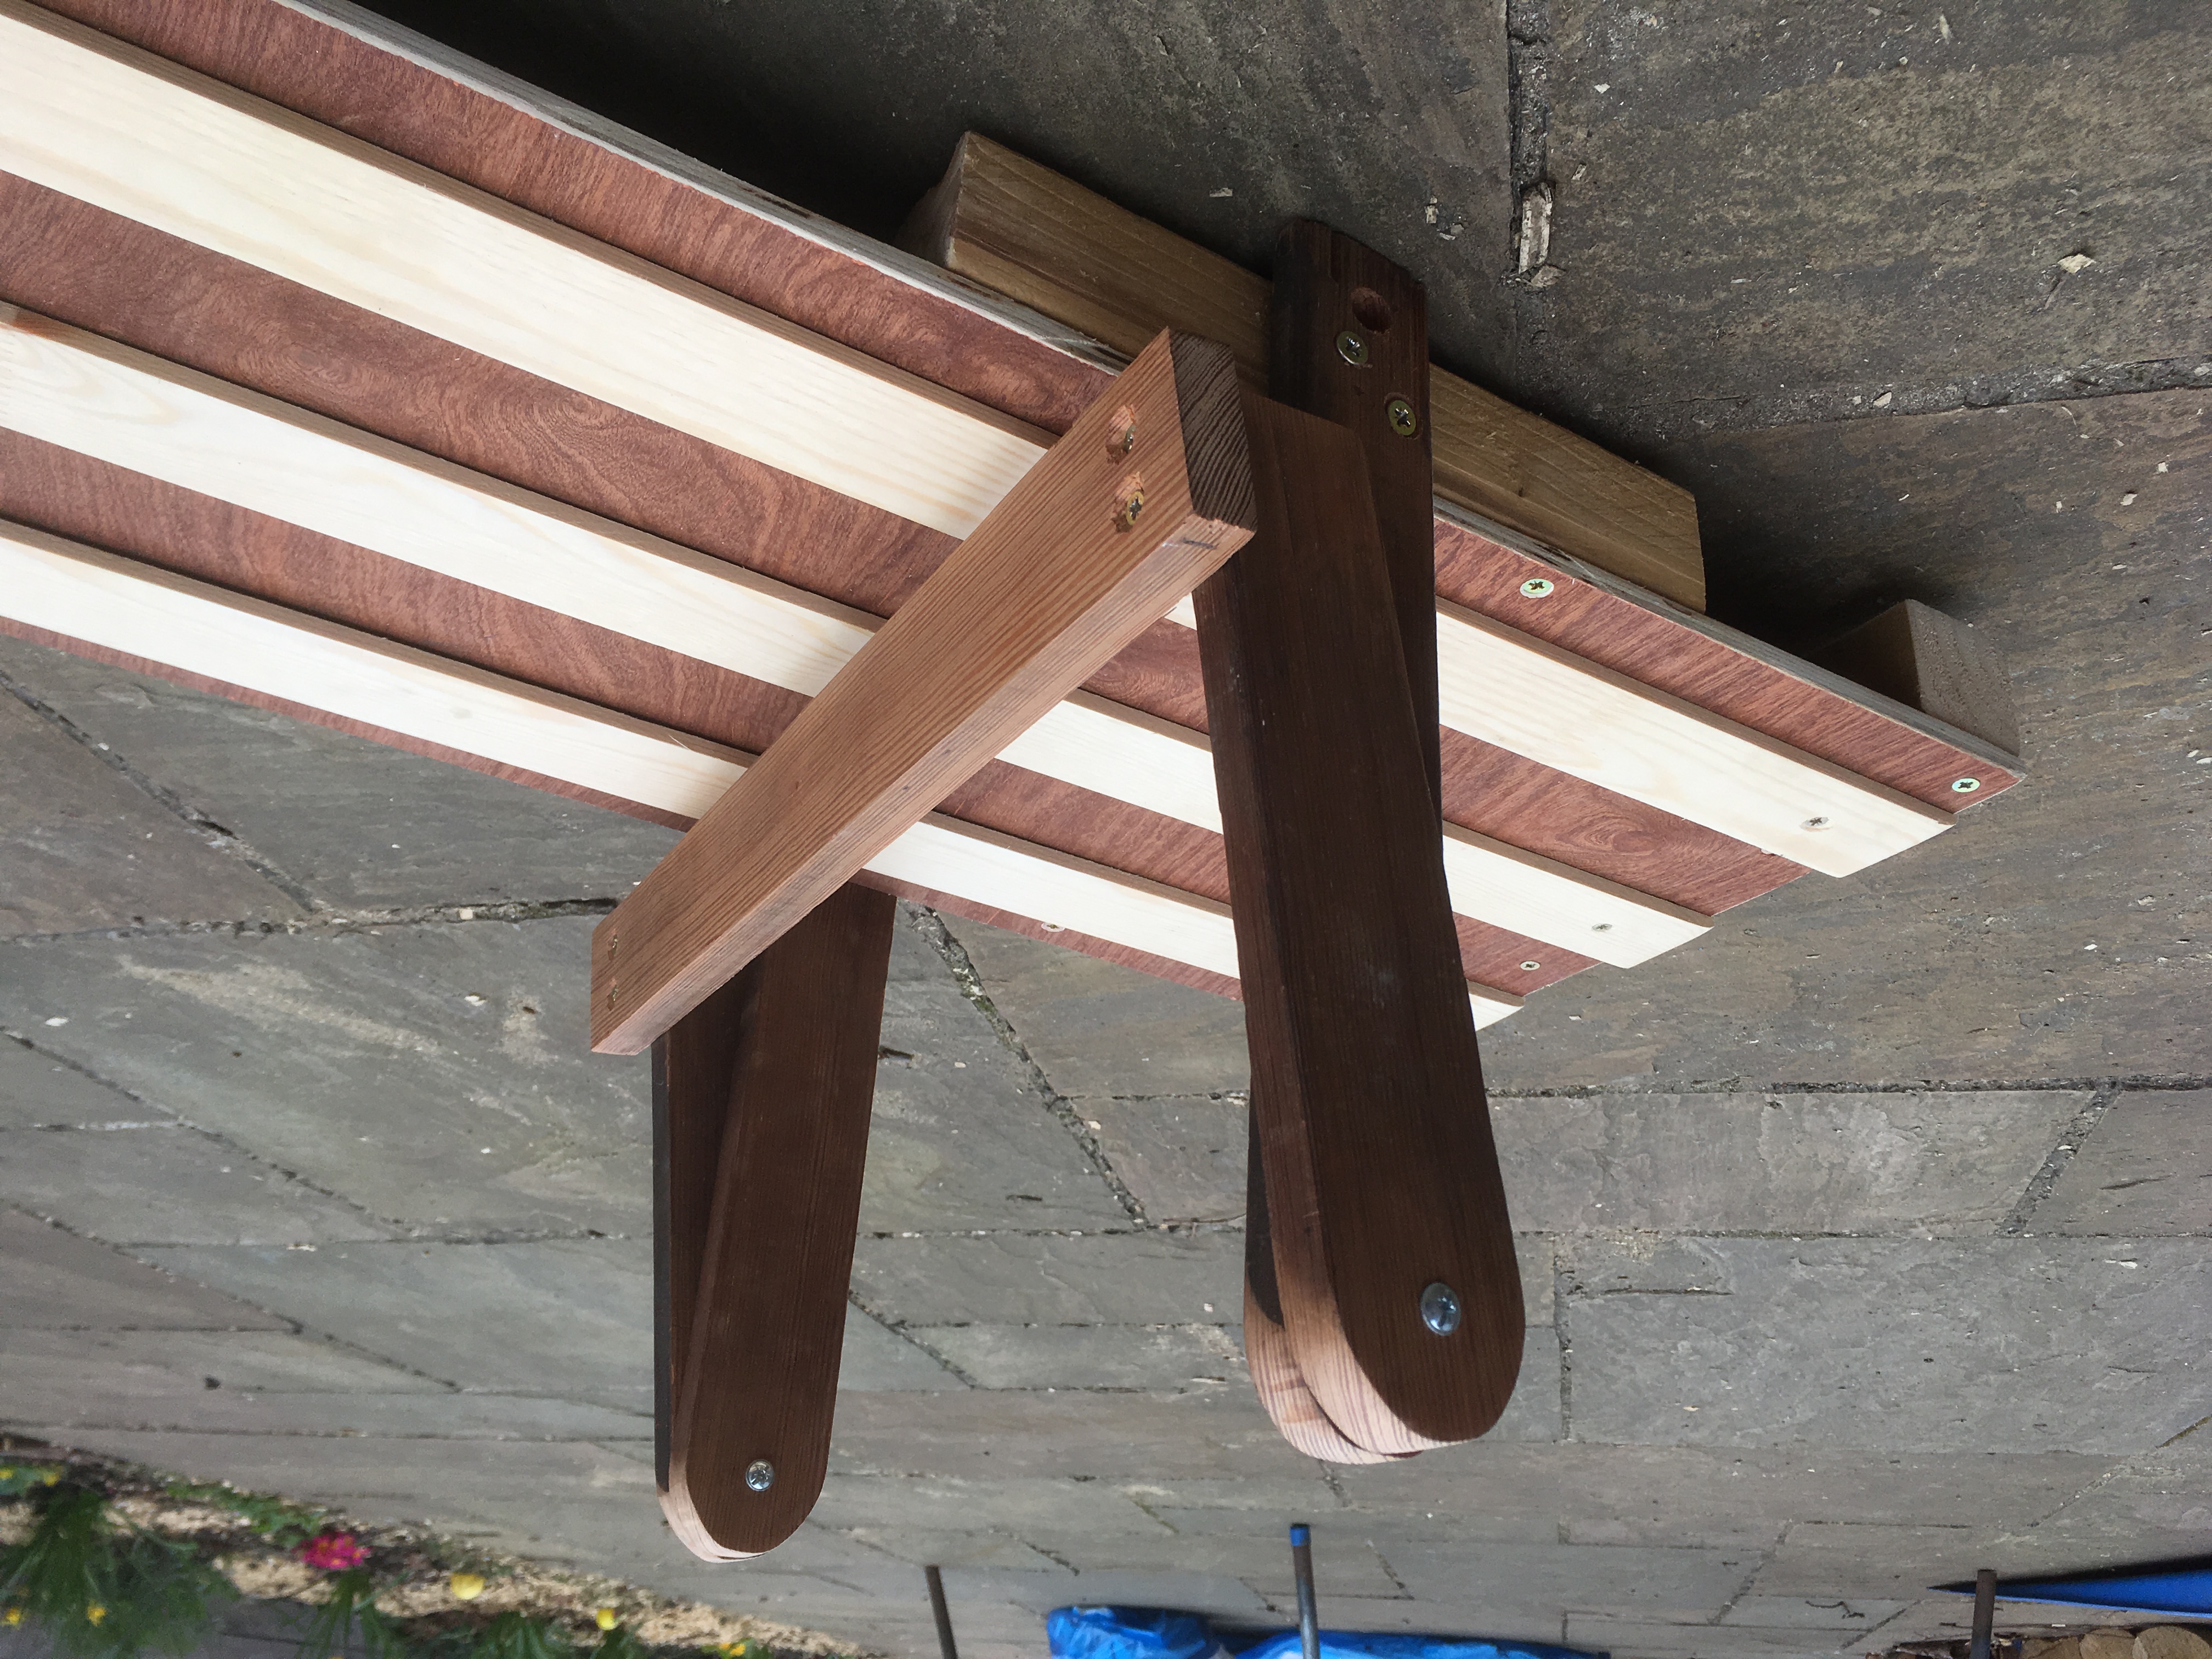
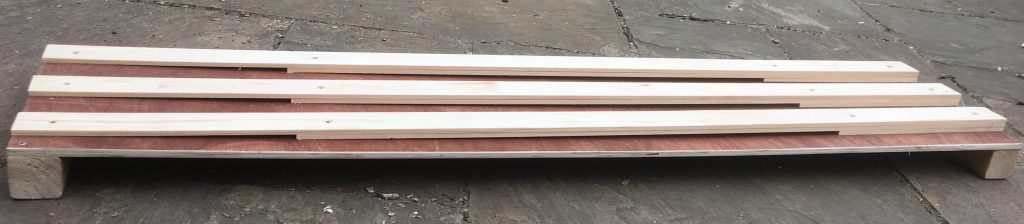
Rules (v2.1)

It is important to be clear what the rules are, so there is a fair competition between participants. If you are taking part then you need to read the rules carefully or you might end up at a disadvantage. Also, don’t assume that all events operate with the same rules!

I’d suggest having a Race Organiser who makes the final decision on what is allowed and not allowed so that there is consistency in the application of the rules. Contact details for the Race Organiser should be available to participants so that participants can clarify their understanding of the rules and ask questions, where necessary, rather than being disqualified on the night.

Rules may be different depending on the track being used, the style of kits, and age or ability of participants. Often there will be iterations of the rules that develop and evolve as participants become more experienced and competitive!

Here is an example of a set of rules that we have used (v2.1), and in a future series of blog posts I plan on elaborating on each of these…

  1. All items issued in the kit must be used (wood block, axles, wheels)
  2. The car must have 9mm clearance underneath the body.
  3. The car must have 44mm clearance between the wheels (width).
  4. The cars overall weight should not exceed 140g.
  5. Liquid lubricants are not allowed.
  6. Bushes (such as washers) are not allowed.
  7. The allocated race entry number should be displayed on the car.
  8. The base of the car should be clearly marked with the participant’s name.
  9. The car should have no moving or loose parts.
  10. Cars are required to pass an inspection and official weigh‐in before racing.
  11. Good conduct & sportsmanship is expected of all participants.
  12. The race organiser and inspection committee’s decision is final.

Instructions

Here are the instructions that we use, by way of an introduction to this activity:

Participants should design, build and decorate their cars before the race night by carving their desired shape from the balsa wood using a craft knife. Weight may be added and the car finished with paint and decoration. The cars will be gravity powered as they run on our purpose‐built sloping track. Prizes will be awarded based on speed but also design and creativity.

Balsa vs Pine

Traditionally, the kits that are used in the US for Pinewood Derby events contain a block of pine wood as part of the car kit. Although there are strengths to use of this material, in my experience, in order to get a good shape and finish, it requires the use of power tools which not everyone has easy access to; such as a bandsaw, sander and drill.

Having surveyed a few people before our first event, I established that the average number of power tools per household wasn’t high in my local area, and there wasn’t a great deal of interest in purchasing such tools purely for the purpose of Pinewood Derby!

blocks of balsa woodThe reason why I chose balsa wood for the Block Cars ‘Balsa Racer’ kit is in order to make Pinewood Derby more accessible. Anyone with a handsaw, craft knife and a sheet of sandpaper has a decent chance of producing a car from the kit, on their kitchen table, that looks reasonably close to what they had originally intended! It also means that young people participating can get more involved in the process of shaping and building the car, and given the appropriate amount of adult supervision, it may also be a safer.

Of course, if you want pine for your kits, rather than balsa wood, then let me know and I’ll see what I can do!


Groups that run Pinewood Derby in the UK

I thought I would try to capture a list of groups in the UK who have run a Pinewood Derby (and posted info online about it!). Partly as a way of taking a snapshot of how popular Pinewood Derby is in the UK just now… I’m not pretending that this is an absolutely comprehensive list, but here it is – let me know if I’ve missed your group out!

122 Craigalmond Scout Group (Edinburgh)

107th Pentland Scout Group (Edinburgh)

51st Balerno Scouts (Edinburgh)

15th St Helens Scout Group

Petersfield District Scouts

1st Winchester Scout Group

1st Great Baddow Scouts

1st Liss Scout Group

Potters Bar & District Scouts

 3rd Heswall Scout Group

 Highfield Scouts

1st Callow Scout Group

1st Longwell Green Scouts

Brighton & Hove Scouts

3rd Ware Scout Group

Bristol District Cubs